Roof Replacement 101 Step by Step Guide to a Shingle Roof Installation in Florida

When it’s time for a roof replacement, knowing what actually happens during the process can take the mystery (and anxiety) out of the project. At Pinnacle Roofing Group, we believe that transparency builds trust, and a better roof.
In this post, we’ll walk you through the entire shingle roof installation process, step by step, so you know exactly what to expect when our crew arrives.
Step 1: The Tear Off, Starting with a Clean Slate
The first step in any proper roof replacement is removing the old roofing system completely. We never recommend a “roof over” (installing new shingles over old ones). It might seem cheaper, but it’s basically putting a Band Aid on a broken bone.
Tearing off the old material lets us inspect the decking underneath and gives your home a fresh, clean foundation to build on. This ensures long term durability, and no hidden surprises later.
Step 2: Re-Nailing the Decking to Florida Code
Once the roof is stripped down, our team ensures your decking meets Florida’s strict building codes.
We re-nail every 6 inches on center, strengthening the connection between your decking and trusses. This step improves your roof’s wind resistance, something every Florida homeowner should care about when hurricane season rolls around.
Step 3: Installing the Peel and Stick
Next comes one of the most important layers of protection: the peel and stick underlayment.
This isn’t your average paper thin material, it’s thick, durable, and waterproof. Once we peel the backing off, it sticks directly to the wood decking, sealing around every nail penetration to create a secondary water barrier. This is installed in the eaves and valleys unless used throughout the entire roof.
This is crucial in Florida’s rainy climate. It helps prevent leaks caused by wind-driven rain and even qualifies as a secondary water barrier for insurance discounts in many cases.
Step 4: Laying Down the Synthetic Underlayment
After peel and stick is installed on the eaves, valleys, and roof penetrations, we move on to synthetic underlayment across the rest of the roof deck.
This woven material is incredibly tough, it resists tearing, stretching, and UV damage. We secure it using orange button cap nails, which provide maximum hold and weather protection.
Florida building codes now require two layers of synthetic underlayment for additional strength and waterproofing, and we always adhere to those standards.
Step 5: Installing the Starter Shingles
Once the deck is protected, it’s time to begin shingling. We start with dedicated starter shingles, not cut up three-tab.
Starter shingles help lock down the roof’s edges, creating a tight seal that protects against uplift during high winds. It’s a small detail, but one that makes a big difference in long-term performance.
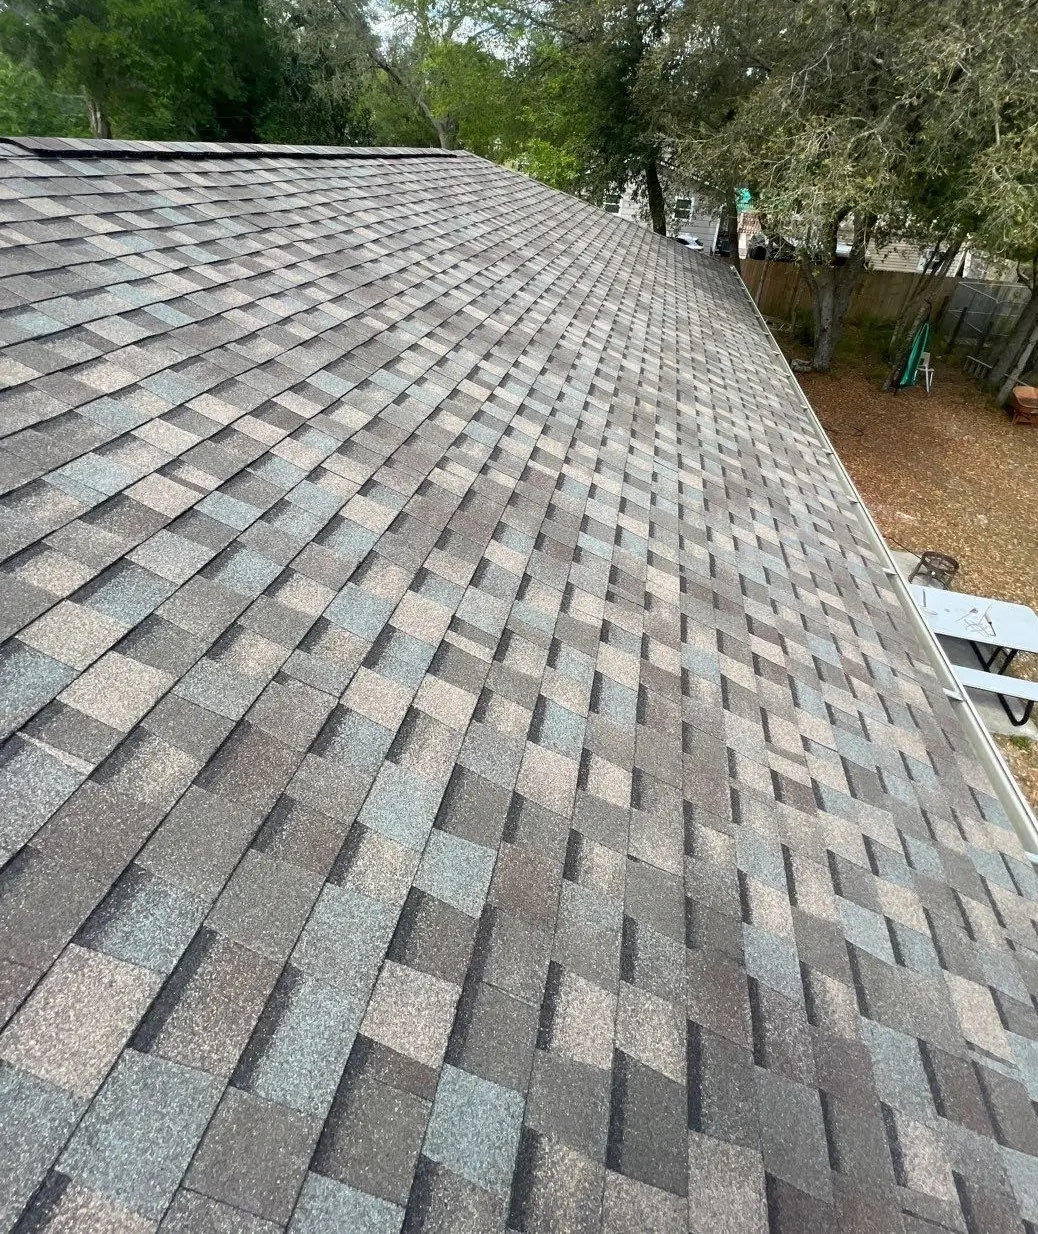
Step 6: Laying the Shingle Roof
Now for the main event: installing your shingle roof.
We follow Florida building codes to the letter, that means six nails per shingle, properly spaced and driven for maximum holding power. This ensures your new roof can stand up to strong wind gusts and heavy rain.
At Pinnacle Roofing Group, we use high quality shingles designed for Florida’s climate, giving your roof beauty, strength, and longevity.
Step 7: Adding Ridge Ventilation
A healthy roof needs to breathe. That’s why we install a polymer ridge vent system at the roof’s peak.
Unlike older aluminum ridge caps (which dent and leak when debris hits them), polymer vents resist impact and keep moisture out while allowing hot air to escape. This helps regulate attic temperatures and improves overall energy efficiency.
Step 8: Finishing with Hip and Ridge Shingles
Finally, we complete your roof replacement with dedicated hip and ridge shingles.
These shingles are designed to flex over the roof’s peaks, providing both a clean look and an extra layer of weather protection, especially over the ridge vent, where leaks are most likely to start.
We never cut corners by slicing up standard shingles for ridge caps. Every detail of your roof is installed to last.
The Pinnacle Promise
At Pinnacle Roofing Group, we don’t just replace roofs, we build lasting protection for your home.
Our certified installers follow Florida’s strict building codes, use premium materials, and take pride in every step of the process. If you’re searching for roofers near me who value craftsmanship and integrity, you’ve found them.